Chairs given a second chance

My parents are always on the lookout for furniture for me and the day my Dad called to tell me he had spotted some dining chairs abandoned my daughter and I jumped into the car and sped to take a look and honestly I was a bit disappointed when I saw them but felt sorry for them and had to bring them home, there were 3 and once I got them home upon further inspection the 3rd one was not worth saving.  They sat in my garage for a number of months and then I got the itch to get them out and work on them.  My original thought was to sell but once I took a look at them I knew they would be perfect as head chairs at the dining table. 
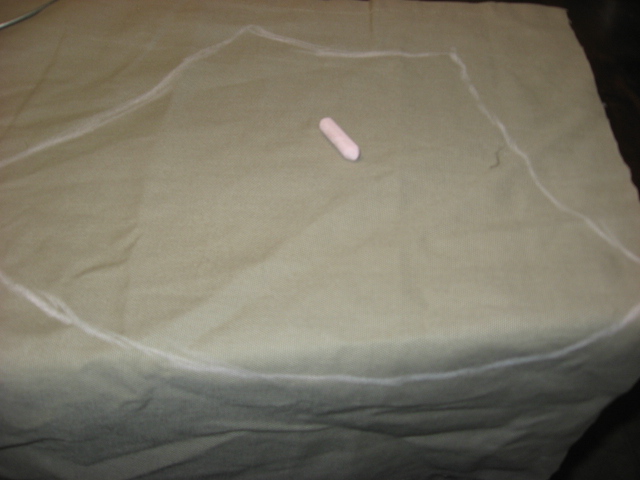
These chairs were so banged up they did not even need a sanding so I just painted on primer, if I have not said this before I have to admit I belong OPA, oops paint anonymous.  I make a bee line for every store that sells paint and look at the oops paint and buy colors that would look cool on furniture, the primer I used on this chair was oops at only $1.00 a quart and the finish color in blue-grey was $2.00 a quart.  I did splurge as always and paid full price for the poly coat, which I always have on hand and the fabric was $7.99 a yard because it was on sale 60% off at JoAnn's and I did use the whole yard due to the placement of the pattern.  Total cost of this project minus the poly $11.00 for 2 new beautiful head chairs at my table.  Now we can seat 8 at our table.  Next project: since the fabric was so cheap I bought 3 yards so I could make a table runner.


Feed Sack

I just bought this old feed sack, in the past I have made pillows out of them but this time I may have to think about this one.  I think I see the seat of a chair but not sure I may have to look at it for awhile and let it tell me what it wants to be.  Any ideas?

Coat Check Room

This plain space in our house called out to be a mudroom it is on the way out to the garage and there is a coat closet right there but I wanted it to have more.  I was in town one day and an old house had a pile of old wide wood trim out for the trash and it was stained dark walnut, of course I stopped and got as much of it into my car that would fit, even went back the next day to get more.  Now that I had the trim what to do with it.....ah-ha lightbulb moment plain room turned coat check room, I know it really is a mudroom but I just love old timey stuff and coat check rooms are almost a thing of the past so it will be a Coat check. 

Went to my local Hardware store to scavage the Oops paint because our house is painted flat and this room will get a lot of use so I needed somethng I could wipe down.  Found a color I liked came home painted, then after I hammered all of the nails out of the back of the trim my Dad came over (another benefit of living close to family) with his miter saw and we cut 2 of the boards to fit in the space.  I sanded and gave them another coat of stain and some poly and we hung them and added some hooks.  I had some old end tables of my grandparents that I covered to be used as stools, made a Coat Check sign and now that space is beautiful.  I could not be happier with it, exactly as I envisioned!!

 Before-plain and boring
 
 After: a brand new old timey coat check
Love it, now the kids have a place to keep their stuff!

Lampshade transformation

I bought these lamps over 10 years ago and have never really loved the shades until today!!!!  They were made of  this wierd felt like material that hung on to dust and I could not stand the look of them any longer so I stashed them in a closet and they have been hiding for the past 5 years.  Sometimes it just strikes you that today is the day to make a change so I drug them out of the closet and decided they needed a makeover.  I had some curtain material from our old house that I loved but have no place for in our new house so now these curtains will become lampshades! 
 This is the after photo
 
 This is the shade before, ugly right!!
 
 I started tearing it apart
 
 More tearing
 
 The frame after I tore it all apart
 
 I used the old shade to make a pattern for the new, I thought about using a sharpie but decided to use chalk to trace instead.  The shade was sewn together in two pieces.
 
 The pattern after tracing, I doubled the curtain over so when I cut I would have the two pieces I needed for each shade.
 
 The patterns cut and ready to sew
 
 I sewed both sides from top to bottom
 
 Nice fit, now just hot glue it on
 
 I also hot glued the inside back on since it came off in one piece, I thought why not and it will give it more of a finished look like I bought in a store. 
The finished product, I also painted the lamp bases and finials because they were ugly too.  Now they are a great showpiece on my dining room buffet.  Took me less than 2 hours and I love them!!


Moving on

The time has come to say goodbye to our beloved home in North Carolina.  We made that house our home for over 5 years, we will miss it but look forward to the next big adventure in our lives.  I am looking forward to decorating a new home, making new friends, hanging out with old friends, living close to family and just loving life together.


Ceiling fan Upgrade

I have been looking at the ceiling fan in my daughters room for nearly 5 years, I knew there was something I could do to make it more attractive.  After endless googling ideas for fans and a recent visit to my local Lowe's hardware store (there is more on this one) I finally told myself enough already.  I have a random plain lampshade and I have to figure out how to make this work.  I saw lots of ideas on how to add a lampshade to a fan, but others had a single bulb light that was easy to cover but I had the four light that could not be covered.  I went to my local Lowe's and spoke with the fan specialist explaining my idea and my problem, she said there was no way it could be done, it will shake there is no way to attach it...she went on and on to the point of ticking me off.  Who does she think she is talking to?????  A month went by and that bug was still up my rear, so I starting by taking the light off of the fan (by the way that was so easy) drilled a hold in the cap between the lights and removed a light just so the dang lampshade would fit.  I painted that lampshade and trimmed it with some stuff I had found at Target 7 years ago (finally put to use and out of the craft bin).  I could not be happier and may have to go back to Lowe's just so I can tell that woman she had no idea what she was talking about!  Can't wait for my daughter to get home to see it.
 Before
 The shade before painting and trimming it
 The shade after painted and trimmed
 The completed fan
 I drilled the hole in the middle and removed the light at bottom left, I just used a random screw and bolt we had in the garage
Beautiful!!!!  Now all I have to do is paint those ugly fan blades, I hope that does not take 5 years!!!

Start it off

My mind always says I can make that or I could get a better deal.  I love digging through junk and getting the best deal I can and if I can't do either of those I know I can make it myself.